
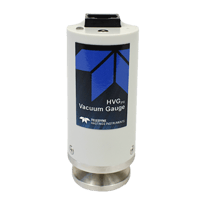
 For OEM engineers, maintenance technicians, and vacuum system integrators, replacing a Pirani vacuum gauge can seem overwhelming. Different manufacturers use different analog output scaling methods, input power requirements, unique connectors, and proprietary wiring schemes. This can turn what could be a simple replacement into a time-consuming engineering project.
The Teledyne Hastings Instruments HVG-PR Pirani Vacuum Gauge was designed specifically to address these challenges. With two possible analog output curves, an industry-friendly RJ45 connection with standardized power / analog signal pinouts, and a compact size, the HVG-PR makes gauge replacement faster, easier, and more cost-effective than traditional alternatives.
Does My New Gauge Have the Correct Analog Output Signal?
A common issue encountered during vacuum gauge replacement is analog output incompatibility. Pirani vacuum gauges use manufacturer-specific voltage-versus-pressure relationships.
When a replacement gauge uses a different output signal than the original device, the consequences can include: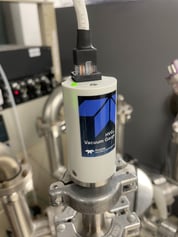
- PLC program modifications
- HMI software updates
- Recalculation of pressure conversion formulas
- Revalidation of automated pressure control sequences
- Extended equipment downtime
In many cases, the engineering effort required to accommodate a new gauge can cost far more than the gauge itself.
However, most major pirani vacuum gauge manufacturers use one of two basic logarithmic output signal scales: 1.0 V/decade or 1.286 V/decade. Fortunately, the HVG-PR supports both! The end-user can easily select which analog output signal they need.
Output Mode Options:
| Output | @ 0.0001 Torr | @ 1,000 Torr |
P (Torr) from |
Volts from P (Torr) |
| 1.00 V/decade | 2.0000 V | 9.0000 V | P = 10(V-6) | V = log10P + 6 |
| 1.286 V/decade | 1.1600 V | 10.1620 V | P = 100.778(V-6.304) | V = 1.286log10P + 6.304 |
By selecting the output mode that matches the existing installation, the HVG-PR can often replace the original Pirani gauge without requiring any changes to the control software or pressure conversion algorithms already running in the system.
Do I Need to Rewire...And Can I Use my Existing Power Source?
Another challenge in vacuum equipment design is wiring. Large vacuum systems can contain multiple gauges, and each can require dedicated cables and specialized connectors. This increases assembly time, cable complexity, and material costs.
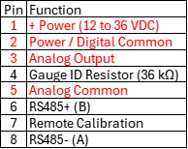
Most major pirani gauge manufacturers either offer or standardize on the RJ45 connector. Also, most major pirani vacuum gauge manufacturers standardize on the four most essential pins for this connection: Power, Power Common, Analog Output Signal, and Analog Common. If your vacuum equipment only uses the Analog Output Signal from the pirani vacuum gauge (and it uses RJ45), you probably will not have to rewire. Check your gauge RJ45 pinout for pins 1, 2, 3, and 5 as seen in the pinout chart. If they are the same, you don’t need to rewire.
Also, the most common DC Power Source for vacuum instrumentation is 24 VDC. The HVG-PR is flexible and will work with any power source from 12 to 36 VDC.
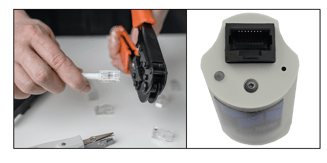 If your RJ45 pinout does not match or if you are using something other than the RJ45 connector, you are still in luck. The HVG-PR uses a standard RJ45 connector for power, analog output signal, and RS485. Technicians can quickly create custom cable lengths using readily available cable, RJ45 connector, and a standard RJ45 crimping tool. RJ45 connectors and crimping tools are sold everywhere. There is no need to order expensive custom cable assemblies.
Will the HVG-PR Physically Fit in my Application?
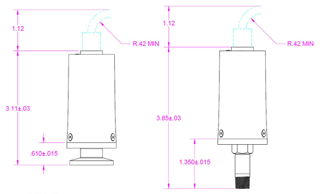
The HVG-PR offers a compact design which is ideal for OEM enclosures and other tight spaces. Two mechanical connections are offered: KF-16 and 1/8” male NPT.
A Simple Four-Step Replacement Process
Step 1: Identify the interface requirements for the existing vacuum gauge.
Determine whether the original gauge uses a 1.0 V/decade or 1.286 V/decade output curve. This information is typically found in the vacuum gauge manual or the PLC scaling equations.
Verify that your power source is between 12 and 36 VDC.
Confirm that your vacuum connection is compatible with either KF-16 or 1/8” NPT. Make sure to order the correct one.
Step 2: Connect the Gauge
Install the HVG-PR and connect the electrical interface. If you are only using the analog output signal for your system and currently use an RJ45 with the same connections on pins 1, 2, 3, and 5, you can plug and go. Otherwise, the use of a standard RJ45 connector allows for a quick connector conversion.
Step 3: Configure the HVG-PR output signal
Please see the HVG-PR product manual instructions to quickly select the output signal you require. 1.0 V/decade is the default, so you only need to make a change if you are using 1.286 V/decade.
Step 4: Resume Operation
Since the output curve matches the existing control logic, the system can often return to service without rewriting pressure conversion equations, modifying PLC code, or reconfiguring HMI displays.
An Ideal Upgrade for OEMs and Maintenance Teams
The HVG-PR was designed with practical field requirements in mind. Rather than forcing users to adapt their equipment around the gauge, the gauge adapts to existing equipment through: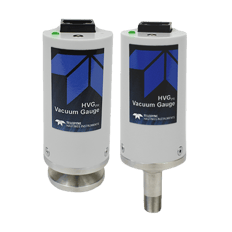
- Dual analog output compatibility
- Flexible input power requirements
- Standardized RJ45 connectivity
- Compact design with KF-16 or 1/8” Male NPT connections
- Simplified installation and maintenance procedures
For OEMs and system integrators looking to reduce assembly costs and maintenance departments seeking faster replacements, the HVG-PR offers a straightforward path to modernizing vacuum measurement systems without major redesign efforts.
Visit https://www.teledyne-hi.com/en-us/what-we-do/hvg-pr to learn more about the HVG-PR vacuum gauge.
Visit https://www.inforad.co.kr to learn more about Inforad’s complete sales, service, and design / build capabilities for Teledyne Hastings Instruments’ vacuum gauges, mass flow meters, and mass flow controllers in South Korea.
If you have questions about vacuum gauges or vacuum controllers, feel free to contact us by phone (+1-757-723-6531 or 1-800-950-2468), email Hastings_Instruments@Teledyne.com, or via Live Chat on our website www.teledyne-hi.com.
 Happy Valentine’s Day 2021
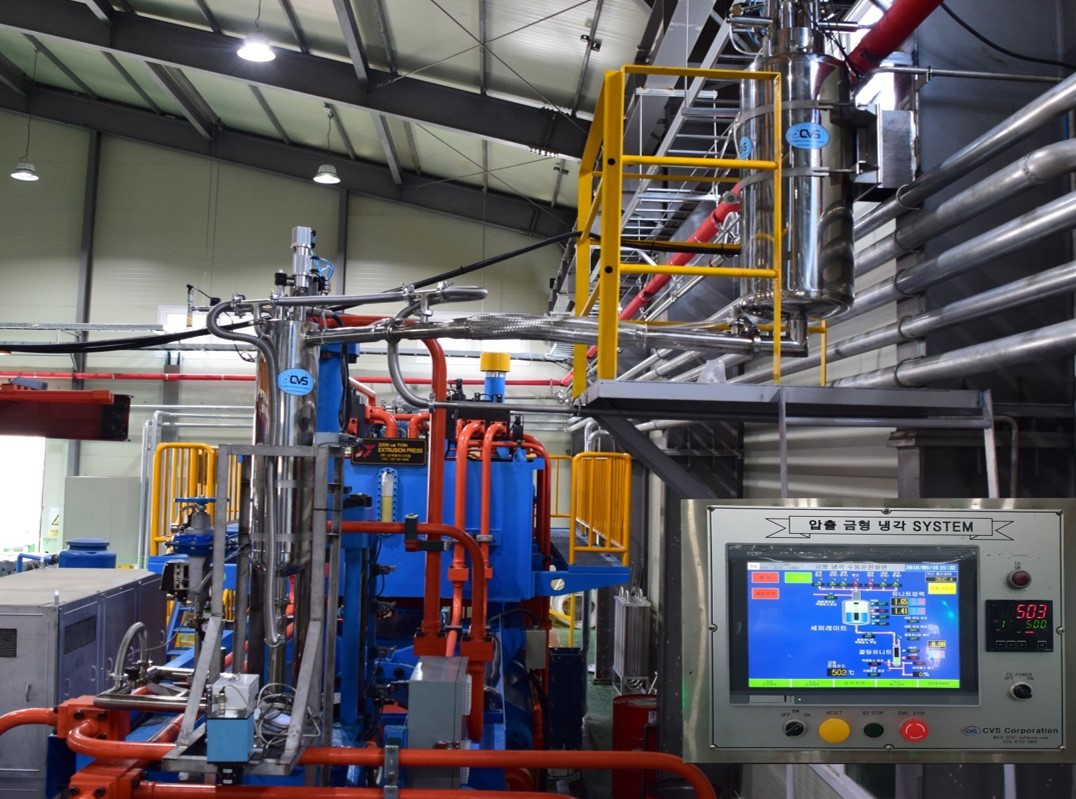
 Freeze drying, also known as lyophilization, is a process in which water molecules are removed from biological cells without damaging the cell structure. For starters, the product to be freeze-dried is chilled and the water inside is completely frozen (i.e. placed in the solid state). Next, the pressure is reduced using vacuum pumps and the water molecules sublimate – that is, water goes from the solid phase directly to the gas phase.
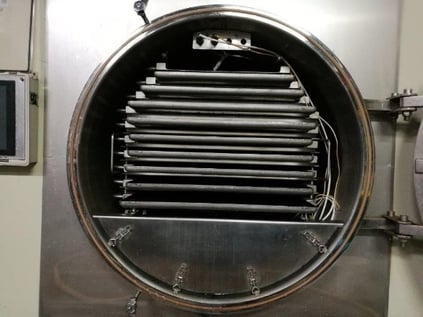 View inside commercial freeze-drier
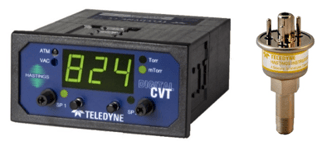

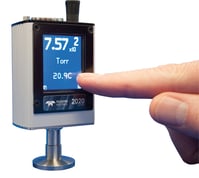 The new HVG-2020B from Teledyne Hastings is a great vacuum gauge for this application. The gauge uses two vacuum sensors: a piezoresistive sensor to measure pressures from atmosphere to 10 Torr and a thermal Pirani sensor to measure from 1 Torr to 0.1 mTorr. In between 1 and 10 Torr, the gauge uses a weighted average to ensure a smooth transition between the two sensors. The piezoresistive sensor is gas species independent, so no matter what gas is being backfilled, the piezoresistive sensor gives an accurate measurement. The Pirani sensor’s response is affected by the gas species, but the user can select a gas and the correction is made.
 Last month, we passed our ISO 9001 surveillance audit. It has been over twenty years since we first obtained ISO and we wanted to take a step back and review some significant accomplishments.

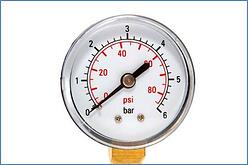
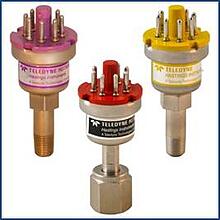
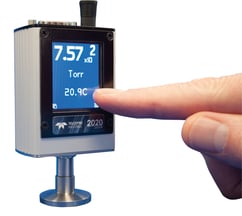
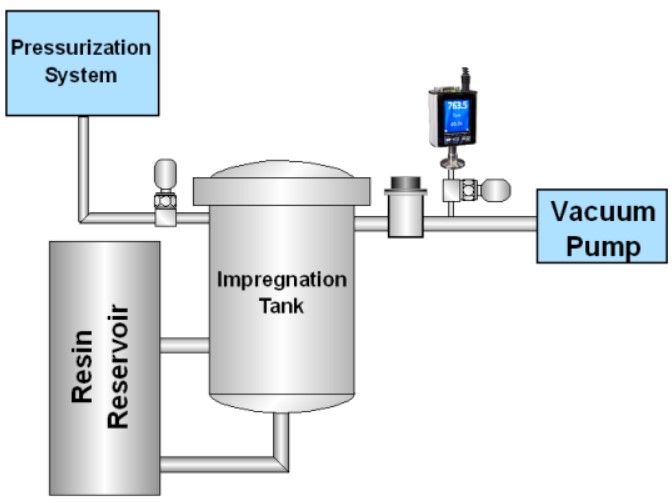

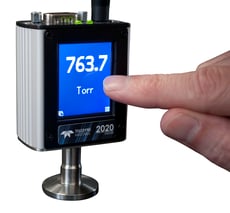 The Teledyne Hastings’ HVG-2020A vacuum gauge is a media-isolated, gas composition independent, piezoresistive instrument that provides accurate pressure measurement throughout the rough vacuum region.
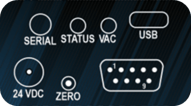 Digital I/O:
 The history of the Hastings Instruments Company stretches all the way back to 1944. Next year, Hastings will celebrate its 70th birthday. But while we are in a corporate history mood, it might be fun to recall everybody’s favorite Hastings’ story: In 1967, Hastings vacuum sensors were designed to travel to the moon and back. One of the objectives of the Apollo missions was to bring lunar samples back to earth. Special boxes, fitted with Hastings vacuum thermocouples were designed and built by Oak Ridge National Labs. Each box was required to be vacuum sealed; the Hastings thermocouple ensured that the seal was good before launch, and after splash down. The box and sensor worked perfectly. Today, the thermopiles from the Apollo 14 mission are on display on a wall between one of the company’s conference rooms and a hallway. A magnifying lens and lamp installed in the display allows visitors to see the vacuum sensor.
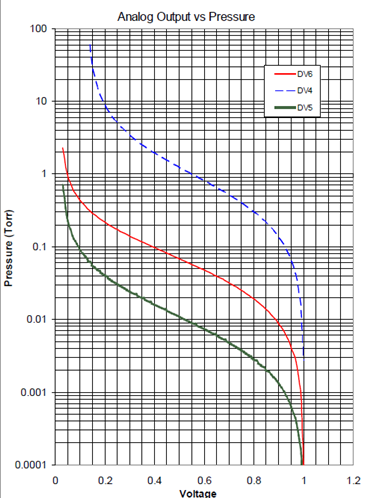 In order to better understand the accuracy of a thermocouple vacuum gauge, it is helpful to review the response curve of these vacuum gauges. In the accompanying figure, we show the output of three of Teledyne Hastings most popular vacuum gauges. Note that each vacuum gauge tube family (DV-4, DV-5, and DV-6) has a range of pressures where the sensitivity, defined as the change in output as a function of pressure is very good. In this pressure region, the output is very repeatable and gives the best accuracy. Note that at the far ends of the curves, the sensitivity flattens out which in turn causes more uncertainty in the pressure measurement. So in general, the best accuracy of the thermocouple gauge is found in the middle of the curve. This fact can help the user select the best vacuum gauge tube family for a given application. Note that the measurement accuracy reflects the gauge as a whole system (meter, cable, and thermocouple gauge tube) and not the individual components. (So, it does not make sense to ask, what the accuracy of a thermocouple gauge tube is.) Users can look up their pressures by reading their output voltages. The voltage shown here is an amplified signal derived from the thermocouple output.